| |
Configuring and updating firmware for K79
Description: Guide for K79 network configuration and firmware updatingTutorial Level: INTERMEDIATE
Next Tutorial: Debugging K79 via USB
Contents
Network configuration
The K79 imaging radar streams data over Ethernet via UDP to a specified host machine IP and port. These network parameters, along with the netmask, gateway and as the radar's IP, are stored in firmware and can be configured using a simply GUI interface as described below.
Firmware update via SD card
Disassembling the radar
Remove the four hex screws on the front of the radar to remove the cover, then use a phillips screwdriver to remove the five screws holding the antenna in place.
Remove the antenna board and remove the smaller hex screws holding the aluminum plate in front of the digital board.
With the plate removed, flip the radar over and remove the locking ring around the round Ethernet jack - this may require using a small flathead screwdriver or other tool in the notches on the ring to unscrew it.
With the locking ring removed from the rear of the enclosure, nothing is holding the digital board in place; gently push the Ethernet jack from the back and the board should pop out of the enclosure, lifting from it off the power plug contacts at the same time if it gets stuck. Be careful as the power contacts bend easily.
On the back of the digital board there is an SD card slot - push the SD card to pop it out, and use a micro SD card reader to plug it into a computer.
Formatting the SD card
This step is only required when using a brand new SD card. To simply update firmware, see the next section below.
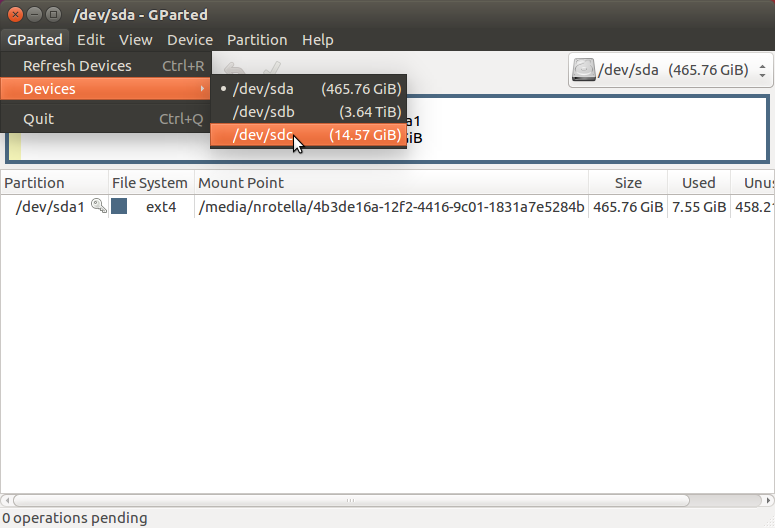
If using a new SD card, ideally use 16GB and format it as FAT32. This can be done in Ubuntu using gparted which is installed with sudo apt install gparted. Run this from a terminal with superuser privileges and choose the SD card by navigating the menu in the upper-left following GParted > Devices > (YOUR DEVICE). If you don't know which device is which based on its /dev path, you should be able to infer it from the size.
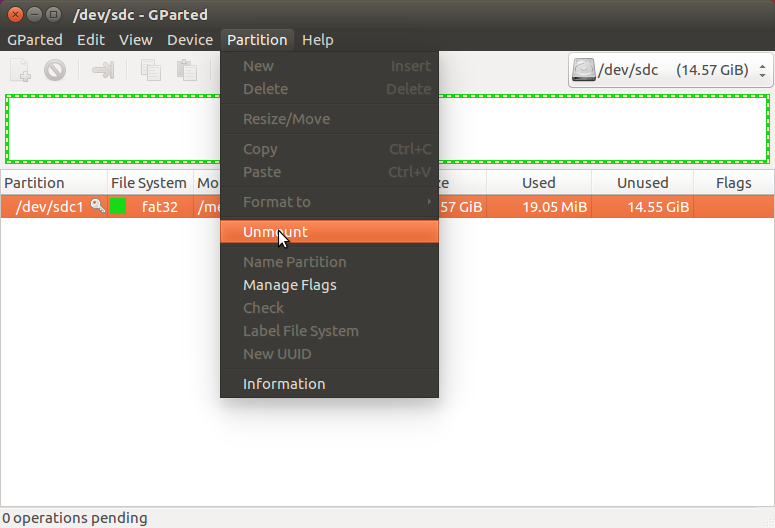
Once the device is selected and shown in the window below, navigate to Partition > Unmount to unmount the device before creating a new partition table.
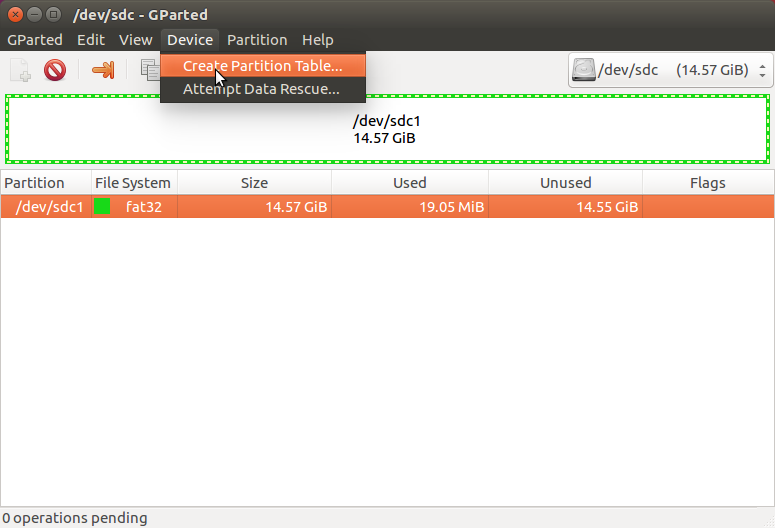
Then, navigate to Device > Create Partition Table... and choose msdos from the list.
Once the partition table is created, add a partition by navigating again in the top toolbar to Partition > New 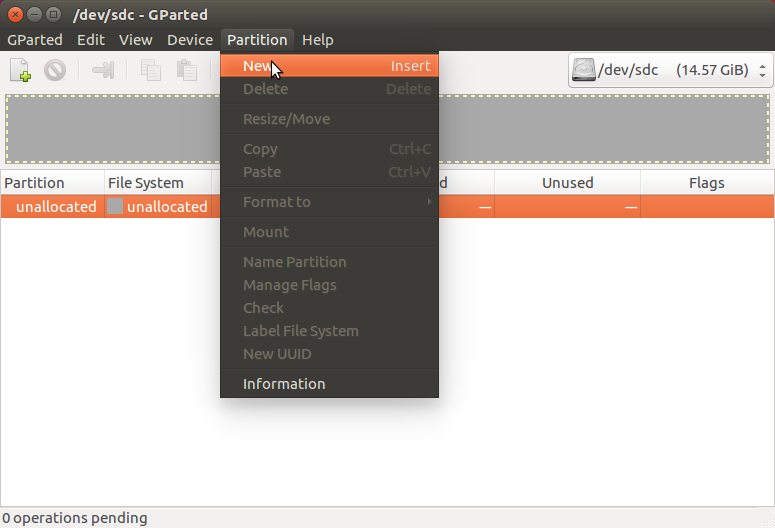
In the File system dropdown list, select fat32 as below and click Add.
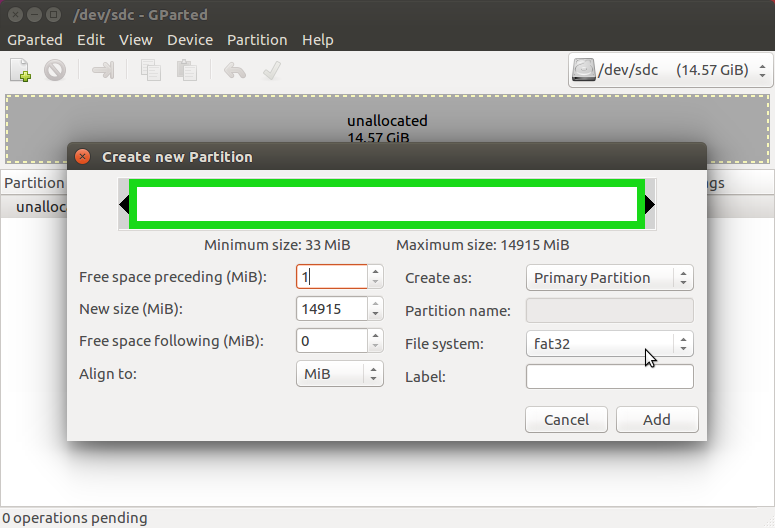
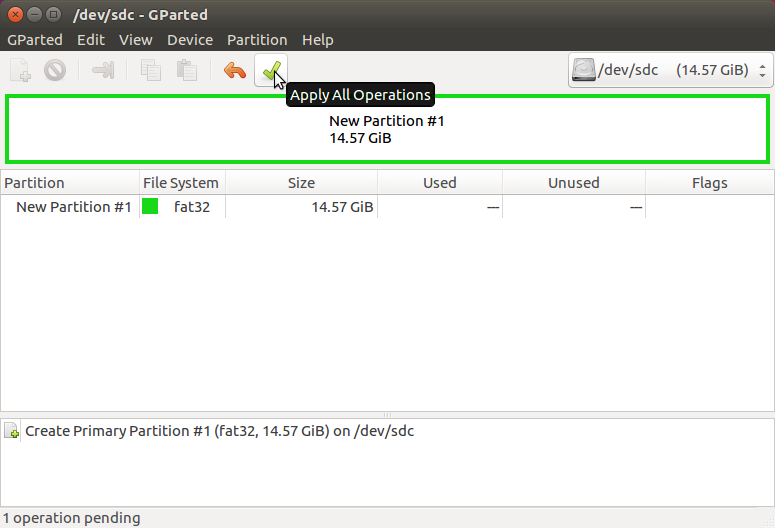
Now, the very bottom of the window should now show 1 operation pending. Apply the pending partition creation operation by clicking the green checkmark in the top toolbar.
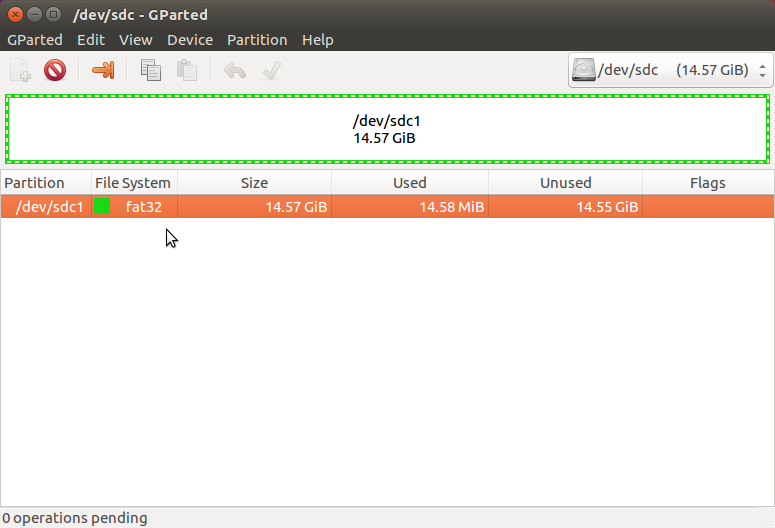
When this is complete, your SD card should be formatted and ready to use.
Installing the firmware
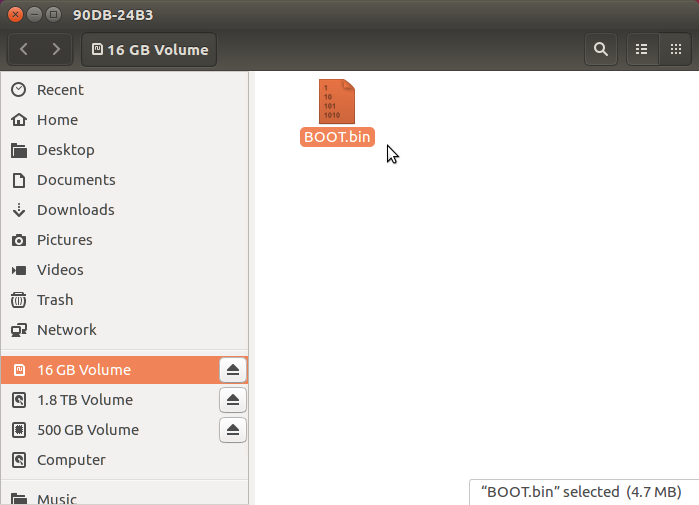
As long as your SD card is formatted correctly (see above section), you can simply copy the new compiled firmware onto the SD card, ensuring it is named BOOT.bin. Unmount the SD card, reinstall in the radar and test.
